

How to Prepare Shed Pads That Stay Level
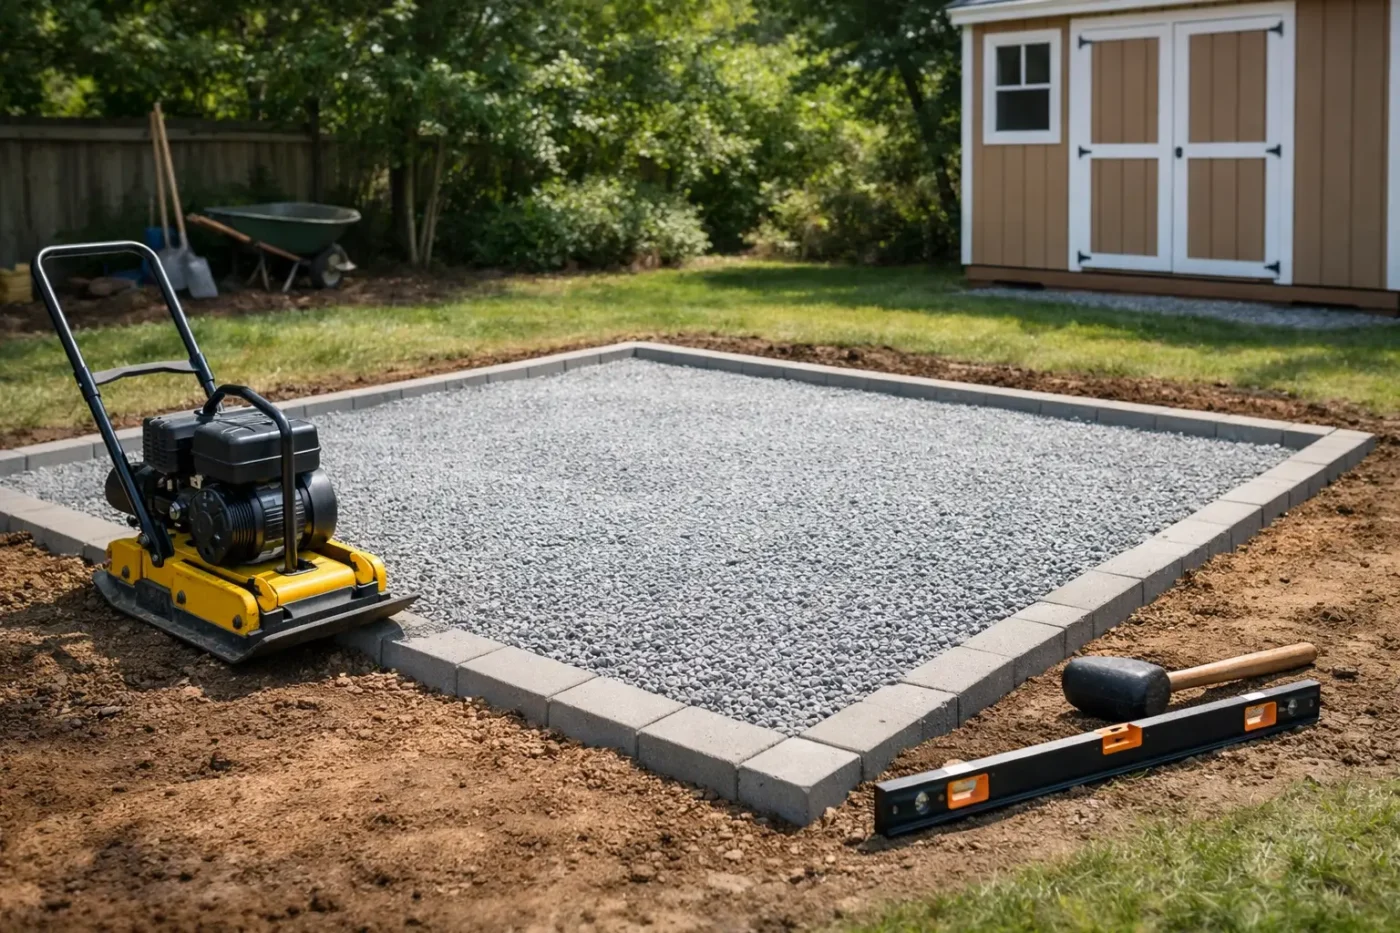
A shed pad is not just a patch of level dirt. It carries the building, the slab or floor system, vehicles, stored machinery and everything else that ends up inside. Learning how to prepare shed pads properly before the shed crew arrives can prevent ponding water, cracked concrete, soft edges and expensive rework later.
On rural properties, the ground rarely makes it easy. A site may have fill from an old dam bank, a slope that holds water after rain, reactive clay, tree roots or a long run from the driveway that limits material access. The right pad is built around those conditions, not simply flattened until it looks level.
Start with the shed plan, not the machine
The first job is to confirm exactly what the shed supplier and building approval require. Pad dimensions, finished floor level, slab thickness, footing details, drainage and wind classifications can all affect the earthworks. A small garden shed on skids is very different from a large farm shed with a concrete slab, roller doors and machinery traffic.
Ask for the building footprint and allow practical working room around it. The pad usually needs to extend beyond the shed line so the slab edge, apron, drainage and erection access can be managed without working off unstable ground. How much extra room is needed depends on the shed design and site, but it should be agreed before material is ordered or excavation starts.
It is also worth checking where water, power and other services will run. Trenching after a completed slab or driveway has been installed is avoidable frustration. On acreage blocks, plan the approach for concrete trucks, steel deliveries and the shed crew as well. A well-built pad does little good if a loaded truck cannot safely reach it.
Choose a site that works in wet weather
The best shed location is often the highest practical part of the block with reliable access, rather than the flattest-looking spot. Avoid natural drainage lines, low pockets, seepage areas and ground below a steep uphill catchment. Those locations may be workable, but they need more considered drainage, additional fill and sometimes engineering advice.
Look at the site after rain if possible. Surface water tells you more in an hour than a dry-weather inspection can. Note where water enters, where it sits and where it can be directed without causing trouble for a driveway, neighbour, dam, fence line or livestock area.
A shed pad should sit above the surrounding ground where practical, with falls that take surface water away. The goal is not to send water racing across the property. It is to control it and direct it to a stable, legal discharge point. Spoon drains, table drains, swales, rock protection or culverts may form part of the solution depending on the slope and soil.
Keep runoff separate from the building area
Roof water is another part of the plan. Gutters, downpipes and rainwater tanks need a clear route that does not dump concentrated flow at the slab edge. If a tank is planned beside the shed, allow for its own properly prepared tank pad and access for delivery or maintenance.
On sloping country, an upslope drain can intercept runoff before it reaches the pad. This is often more effective than trying to fix a wet shed site after the building is up.
Strip unsuitable material before building up
Topsoil, grass, leaf litter, roots and loose organic material have no place beneath a shed pad. They break down over time and leave voids, which can lead to settlement. Strip the area back to firm natural ground, then assess what is underneath.
This is where excavation experience matters. Good-looking dirt is not always suitable fill. Clay can become slick and soft when wet. Old fill may contain timber, rubbish, rocks or inconsistent layers. A pad built over variable ground can move differently from one side to the other.
Where the site needs raising, use suitable clean fill placed in controlled layers rather than pushing one large heap into shape. Each layer needs moisture conditioning where required and proper compaction before the next is placed. Simply tracking over fill with machinery may make the surface look hard, but it is not the same as achieving consistent compaction through the full depth.
Cutting into a slope also needs care. The exposed subgrade must be firm, and the cut should not create an uphill wall that channels water into the shed. If significant fill, poor ground or a large structure is involved, an engineer or geotechnical advice may be required. It depends on the shed design, local approval conditions and what the ground reveals once stripped.
Build the pad in compacted layers
A reliable shed pad is generally formed from a prepared subgrade, compacted structural fill where needed, then a suitable gravel or road-base surface. The exact materials and depths should follow the shed, slab and site requirements. There is no one depth that suits every property.
For a basic shed floor, the final surface needs to be level, firm and evenly compacted. For a concrete slab, the concreter or engineer may specify the sub-base material, membrane, reinforcement and edge beam details. For a gravel-floored machinery shed, a durable topping material may be preferred to reduce dust and rutting.
The important point is consistency. Soft spots must be excavated and replaced, not hidden beneath a thin layer of road base. High areas should be trimmed accurately rather than left for the concrete crew to solve with extra concrete. Extra concrete is costly and does not correct poor compaction beneath it.
Check levels from a known reference point
Set the finished floor level before the bulk earthworks begin. A laser level makes it possible to check cut and fill across the entire footprint, including the corners, centre and access side. This avoids the common problem of a pad that appears level by eye but falls away enough to affect slab thickness, door clearances or drainage.
Check levels again after trimming and before final compaction. If the shed has roller doors, make sure the approach is graded for practical vehicle entry without allowing water to run straight into the doorway. A small apron or a properly shaped transition can make a major difference for tractors, utes, horse floats and machinery.
Allow for equipment access and the finished use
Think beyond the day the shed is built. A machinery shed needs room to reverse a float, open roller doors and turn equipment without bogging the shoulders. A workshop may need a concrete apron. A hay shed needs drainage that keeps bales dry. An equine property may need hardstand space for feed deliveries or a wash-down area kept separate from the shed entrance.
The pad edge should be stable too. Unsupported fill can slump at the sides, particularly after heavy rain. Batters may need to be trimmed to a safe angle, compacted and protected with vegetation or rock where runoff could scour them. Retaining solutions may be needed where space is tight or level changes are substantial.
For rural sites across the Mid North Coast, New England, Hunter and Northern Rivers, rainfall, clay content and terrain can vary sharply from one property to the next. That is why a site inspection is more valuable than relying on a standard pad detail copied from another block.
A practical pre-shed checklist
Before booking the shed install, confirm these site essentials are complete:
- The pad dimensions and finished floor level match the shed plans and approval requirements.
- Topsoil, roots, loose fill and soft spots have been removed or treated.
- Fill and base materials have been placed and compacted in suitable layers.
- Surface water and roof runoff have a planned path away from the building.
- Delivery vehicles, concrete trucks and the erection crew have safe access.
- Underground services, tank locations, drainage and future aprons have been considered before the build.
A professional earthworks crew can handle the stripping, excavation, drainage, imported material, pad construction and final trim as one coordinated job. That reduces the risk of different contractors working to different levels or leaving drainage decisions until the last minute. Agtech Fencing & Rural Services can assess the site conditions and prepare practical shed pads built for the way rural properties are actually used.
A shed may be steel and concrete, but its long-term performance starts in the ground. Put the effort into drainage, compaction and accurate levels now, and the building will have a far better chance of staying dry, accessible and level through the seasons.