

How to Install Steel Pickets for Rural Fences
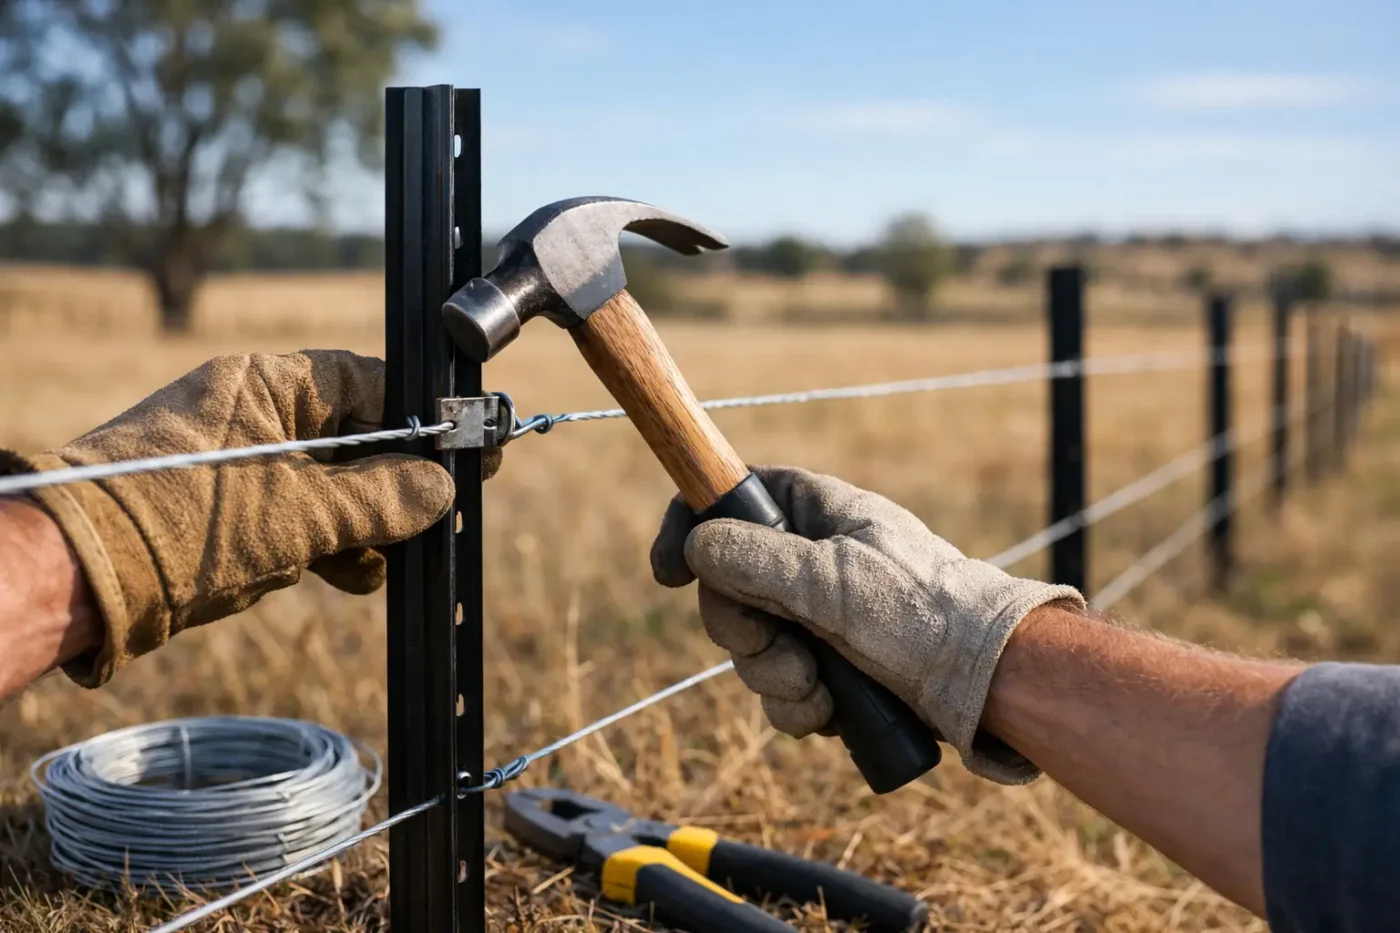
A steel picket fence can look straightforward from the ute tray, but the finished result depends on the work done before the first picket is driven. Knowing how to install steel pickets properly means setting a true line, using solid strainer assemblies and matching picket spacing to the stock, dogs or horses the fence needs to contain.
Steel pickets are a practical choice for many rural fencing jobs. They are quick to handle, suited to long runs of stock fencing and easier to replace than a damaged timber post. But they are line posts, not a shortcut around proper end assemblies. A fence is only as sound as its strainers, stays, wire tension and ground preparation.
Start with the fence purpose and ground conditions
Before marking out the line, decide what the fence must do. A boundary fence for cattle has different requirements to a dog-proof enclosure, a horse paddock or a temporary subdivision fence. Wire type, picket length, spacing and the number of plain wires all change with the job.
Walk the proposed line and look closely at the terrain. Mark gullies, creek crossings, wet patches, rock shelves, old stumps, buried rubbish and changes in grade. If a fence follows a long slope, runs across unstable ground or crosses a drainage line, it will need more planning than a straight, level paddock boundary.
Also check for services before driving or digging. Underground water, power, communications and irrigation lines can turn a routine fencing job into an expensive repair. On developed acreage blocks, old services are often not where the previous owner thought they were.
For most permanent rural fences, steel pickets sit between properly built strainer posts. Strainers take the pull of tensioned wire at ends, corners, gateways and major changes of direction. They may be timber, concrete or heavy steel, depending on the fence design and site conditions. A line of pickets cannot carry that load on its own.
Set out a straight, workable fence line
Start by placing your end and corner points. Run a tight string line, fencing wire or sight line between them to establish where the fence should sit. On longer runs, a laser, GPS guidance or intermediate sighting pegs can help keep the line true.
Do not blindly follow a line if it creates a drainage problem or puts the fence through a boggy low point. Small adjustments before construction are far easier than repairing a fence that holds water, washes out or becomes inaccessible after rain. Allow room around gates for machinery, stock movement and a practical approach from existing tracks or yards.
Install the strainer assemblies first and allow them to settle if the ground is soft. Every picket and wire run should then work from those fixed points. On a corner, build the assembly to handle tension from both fence directions. At a gate, make the posts strong enough to support the gate weight as well as the pull of the adjoining wires.
Choose picket length, spacing and driving depth
The right steel picket size depends on finished fence height, soil depth and the pressure the fence will receive. A picket needs enough length below ground to stay stable while leaving sufficient height for the top wire, netting or electric outriggers.
As a practical guide, many standard stock fences use pickets spaced around 3 to 5 metres apart. Closer spacing may be needed for dog-proof fencing, netting, uneven ground, lighter-gauge pickets or areas where livestock regularly lean on the fence. Wider spacing can work on flat, firm ground with a well-designed wire fence, but it can lead to sagging wires and a less tidy finish if pushed too far.
Driving depth is equally important. In ordinary firm soil, a steel picket is commonly driven roughly 600 mm into the ground, though that is not a fixed rule. Sandy soil, wet ground, flood-prone country and high-pressure stock areas may require deeper installation, stronger pickets or closer spacing. Where shallow rock stops the picket, do not leave it sitting loose and hope the wires will hold it. Shift the line slightly, pre-drill where suitable, use an alternative post system or reassess the fence design.
Keep all pickets at a consistent finished height. It makes wire installation faster, gives the fence a professional appearance and avoids low sections that animals can test.
How to install steel pickets accurately
With strainers in place and the line marked, begin driving pickets from one end. Position each picket beside the string line, not directly on top of it, so you can continue checking alignment as you work. Keep the lugs facing the side where the wires and clips will sit.
Use a purpose-built post driver suited to the picket profile and wear the required personal protective equipment. Gloves, eye protection, hearing protection and sturdy boots are basic requirements. A powered post driver can speed up a long run, but it needs a controlled operator, stable footing and care around overhead powerlines, slopes and soft ground.
Drive the first few pickets, then stop and check them from several angles. They should be vertical across the fence, while following the intended grade along the run. A picket leaning slightly along a steep slope may be unavoidable to maintain a consistent wire position, but random lean is a sign that the set-out or driving method needs attention.
Continue along the line at your planned spacing. Measure regularly rather than relying on a visual guess. On undulating country, place pickets at crests and hollows where wire needs support. This is often more effective than keeping every gap identical while allowing the wire to bridge the ground and create an escape route underneath.
Handling corners, rises and gullies
A change in direction needs more than a picket bent into place. Use a properly braced corner assembly where the fence carries tension. For minor deviations, a stronger intermediate post may be enough, but the decision should reflect wire tension and the length of each run.
On a rise, make sure lower wires stay close enough to the ground without forcing upper wires too low. In a gully, consider drainage and debris flow. A rigid fence built directly across a watercourse can catch branches and flood debris, placing serious load on posts and strainers. The right solution depends on the site and may include a purpose-built crossing or a fence layout that avoids the worst of the flow.
Attach wire without losing the line
Once the pickets are installed, run and tension the fence wires from the strainer assemblies. Start with the top and bottom wires to establish the fence shape, then add intermediate wires or netting. Keep tension even and use suitable strainers, joiners and tie-offs for the wire product being installed.
Attach wires to pickets with the correct clips or ties, allowing the wire to sit securely against the picket lugs. Avoid makeshift ties that rub through galvanising, loosen quickly or leave sharp ends exposed. On electric fencing, use insulators designed for steel pickets and keep live wires clear of earth wires and vegetation.
Do not over-tension wire simply to make a fence look tight. Excess tension can pull strainers out of line, snap wire in cold conditions and place unnecessary load on corners. The correct tension depends on the wire type, fence length, temperature and manufacturer guidance. A well-built fence is firm, even and properly supported – not strained to its limit.
Common mistakes that shorten fence life
Most steel picket failures come back to a few preventable issues. Driving pickets without first building solid strainers is one. So is using wide spacing over dips and rises, where the wire can lift from the ground or sag between posts.
Another common problem is using light pickets in heavy livestock areas. Cattle rubbing, horses testing boundaries and machinery brushing a line can all bend undersized posts. In these locations, stronger pickets, closer centres and a fence design suited to the animal pressure are worth the extra effort.
Poor access planning also causes trouble. If a fence line cannot be maintained, sprayed or repaired without fighting thick regrowth, steep banks or drainage issues, it will cost more over time. Where practical, clear a manageable corridor before fencing and deal with roots, fallen timber and invasive weeds first.
For larger rural jobs across the Mid North Coast, New England or Hunter regions, it can make sense to coordinate fencing with clearing, drainage or access-road works. Getting the site prepared before the fence crew arrives helps protect the finish and reduces repeat machinery costs.
A straight, secure steel picket fence is not about driving posts as fast as possible. It is about building a line that suits the country, holds its tension and continues doing its job through stock pressure, weather and regular property use. If the ground is difficult or the fence has a high consequence – around horses, dogs, road frontage or valuable livestock – get the design right before the first picket goes in.